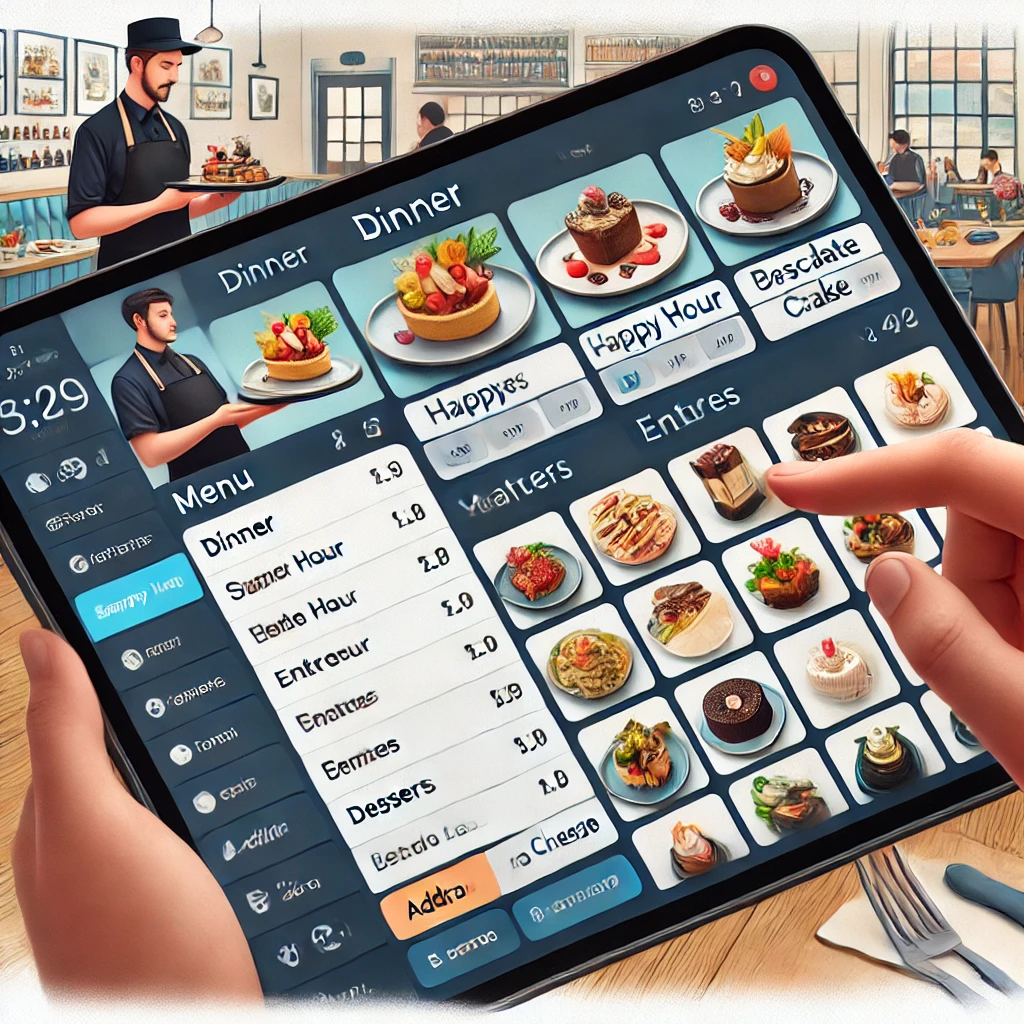
Building a menu within Toast POS can be streamlined and powerful if you leverage the platform’s menu hierarchy correctly. The system offers layers of organization that ensure efficient navigation for both staff and customers, while also making back-end management easier. Here’s how you can utilize menu hierarchy to create an effective restaurant menu with Toast.
1. Understanding Toast’s Menu Hierarchy Structure
The hierarchy in Toast is like an office filing system, helping to organize everything from broad categories down to individual items:
- Menus: Top-level categories, such as Lunch, Dinner, or Happy Hour. Think of these as “filing cabinets” that house different food and drink options.
- Menu Groups: Subdivisions within menus, like Appetizers, Sandwiches, or Desserts, acting as the “folders” in the filing cabinet.
- Subgroups: Optional, smaller groupings within menu groups (e.g., Wines by the Glass vs. Wines by the Bottle) to break down complex offerings further.
- Items: Individual dishes or drinks, such as “Mozzarella Sticks,” living within groups or subgroups.
This system ensures that your offerings are easy to locate on both the POS and any customer-facing platforms like online ordering sites.
2. Creating Your Menu with Toast’s Menu Builder
Start by navigating to Menus > Menu Management > Menu Builder in the Toast Web portal. From there, you can:
- Add new menus: Simply click “+ Add” to create a new menu category, such as “Fall Specials.”
- Reuse existing menus: Copy menus or groups to save time and ensure consistency across locations or seasonsToast CentralToast Central.
Toast also allows menu visibility settings, so certain menus can be active only at specific times—like brunch on weekends.
3. Organizing Groups and Subgroups Efficiently
When structuring your menu, think carefully about the use of subgroups. While these add an extra layer of organization, excessive use can overwhelm staff and customers by adding unnecessary taps in the POS interface.
For example:
- Drinks Menu
- Group: Red Wine
- Subgroups: By the Glass / By the Bottle
- Group: Red Wine
Be mindful that subgroups don’t appear in online orders, so try to keep digital menus simple for smoother customer experiences.
4. Modifiers for Customization
Beyond menu items, modifier groups (like add-ons or substitutions) play a crucial role. These function like sticky notes that can be added across different levels of the hierarchy:
- At the menu level: Apply modifiers like “Gluten-Free Option Available” to an entire group.
- At the item level: Add individual add-ons like “Extra Cheese” to specific dishes.
Modifiers enhance flexibility and make sure orders reflect customer preferences accurately.
5. Arranging Menus and Publishing Changes
Menus, groups, and items can all be reordered to ensure high-demand items are easy to find. Use the “Order” button in the menu builder to arrange them logically. Don’t forget that any change needs to be published by someone with the appropriate permissions before it goes live.
6. Best Practices for Menu Hierarchy in Toast
- Keep it simple: Aim for clarity by minimizing the number of subgroups.
- Use themes: Organize menus around specific occasions or meal types (e.g., “Lunch Specials” or “Happy Hour”).
- Plan for the future: Use Toast’s tools to copy or archive menus as needed, which is especially useful for seasonal items or temporary promotions.
- Test before launching: Always review how your hierarchy looks on the POS screen to ensure quick access for your staff.
Leveraging Toast’s menu hierarchy is key to creating a streamlined experience for both staff and customers. Whether you’re building complex wine lists or straightforward lunch menus, using this system effectively ensures efficient service and seamless ordering across platforms.
Ready to streamline your restaurant operations with Toast? Contact us today to learn more about how Toast’s POS system can help you build the perfect menu.


