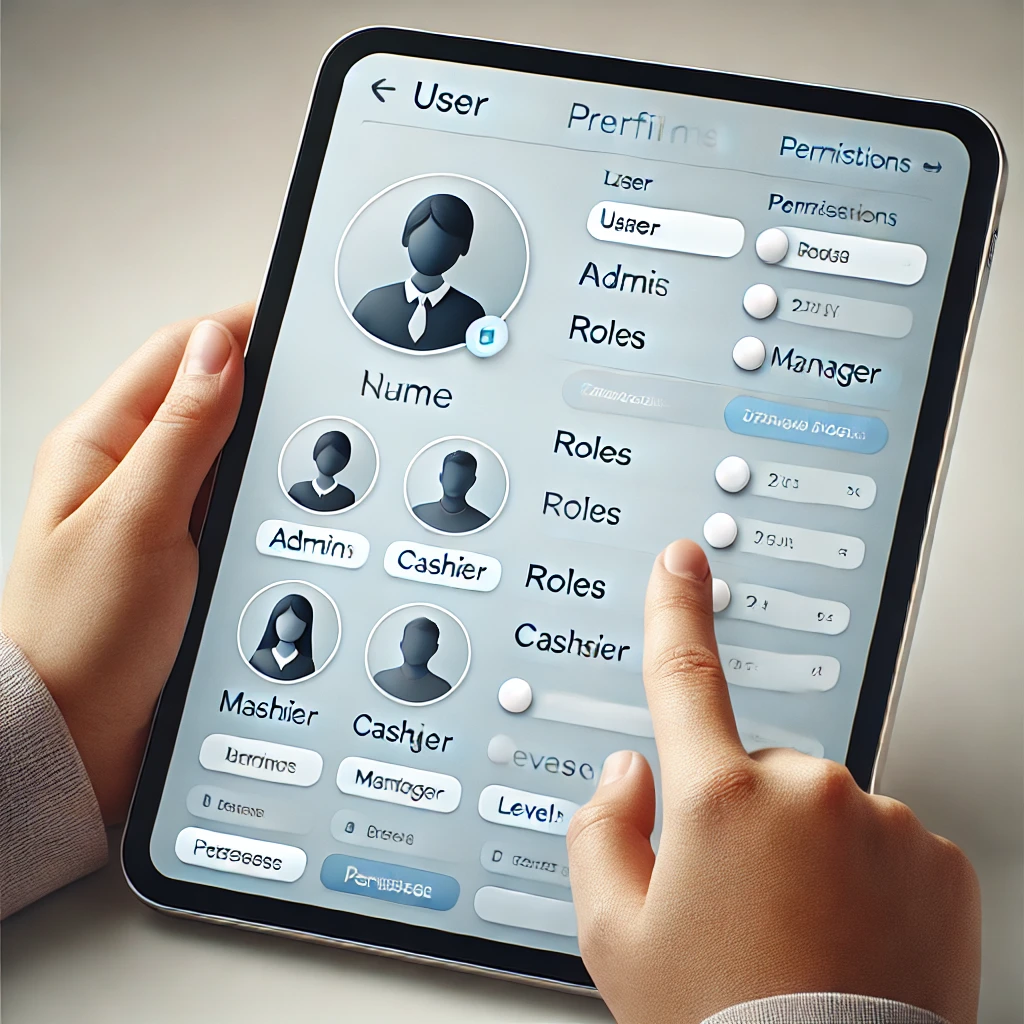
Setting up new users in Lightspeed POS is essential for managing permissions, tracking employee performance, and ensuring that your team has the right access levels for their roles. This guide will take you through each step of the process, from creating user profiles to assigning permissions, so your team members can seamlessly use the system.
1. Introduction to Lightspeed POS and Its User Setup Importance
Lightspeed POS is a powerful point-of-sale system designed for retail and hospitality businesses that need robust tools for managing sales, inventory, and customer interactions. Setting up new users is crucial as it allows you to control access levels, reduce operational risks, and ensure each team member has the appropriate capabilities to perform their roles efficiently.
2. Accessing the User Management Interface
To begin adding users in Lightspeed, you must first access the User Management interface, which allows you to view, edit, and manage user permissions. Here’s how to access it:
- Log in to your Lightspeed POS admin dashboard.
- From the main navigation menu, select Settings.
- Choose Users & Roles or Employee Management (depending on your specific version).
- From here, you’ll see an option to Add New User.
Tip: Make sure you have admin access to manage user roles; standard users may not have permission to make these changes.
3. Creating a New User Profile in Lightspeed POS
Once you’re in the User Management section, setting up a new user profile is straightforward:
- Click on the Add New User button.
- Enter the new user’s basic information, such as Name, Email, and Contact Details.
- Assign a unique Username or Employee ID.
- Create an initial Password for the user (you can ask them to change it during their first login).
4. Assigning Roles and Permissions
Assigning roles is a key step in Lightspeed POS, as each role will dictate the user’s access level:
- Choose from preset roles such as Admin, Manager, Cashier, etc.
- Each role has a different set of permissions, from full access for Admins to limited access for Cashiers.
- Select the role that best matches the new user’s responsibilities.
If you’re setting up a user with managerial responsibilities, assign them the Manager role, which allows for limited access to financial reports, employee data, and other higher-level functions without full administrative control.
5. Setting Custom Permissions for Specific Roles
For certain roles, you may need to customize permissions to fine-tune access:
- In the User Profile, find the Permissions tab.
- Select specific features the user should have access to, such as Inventory Management, Sales Reports, or Shift Scheduling.
- For security-sensitive areas like Financial Reports or Discount Approval, ensure these permissions are only granted to trusted roles.
Customizing permissions is a way to give team members exactly the tools they need without overexposing sensitive business data.
6. Adding User-Specific Details (Login Credentials, Shift Permissions)
After roles and permissions are set, ensure each user has the necessary login credentials:
- Set a PIN if your Lightspeed POS system uses PIN-based login for quicker access.
- Enable or restrict Shift Permissions, such as allowing or blocking the user from ending their shifts independently.
- Add any additional user details relevant to your business, such as department tags or user-specific notes.
7. Testing User Access
Before the new user goes live with their profile, it’s essential to test their access. Log in as the new user or ask them to log in and confirm that:
- They can access only the sections assigned.
- All permissions work as expected.
- No sensitive areas are visible if they’re not authorized for them.
Testing reduces the risk of access issues or permission errors that could interrupt day-to-day operations.
8. Managing and Updating User Access Over Time
Lightspeed POS makes it easy to manage users as your team grows or changes:
- Regularly review user access to ensure permissions remain aligned with responsibilities.
- If an employee changes roles or leaves, promptly update or deactivate their account.
- Leverage Lightspeed’s reporting tools to track employee performance metrics tied to their user profiles.
Regularly revisiting your team’s access and performance can help maintain security and ensure that all permissions support smooth operations.
9. Conclusion: Seamless Operations with Proper User Setup
Setting up new users in Lightspeed POS doesn’t have to be complicated, and by following these steps, you’ll ensure that every team member has the right tools and access. Proper user management improves efficiency, maintains security, and helps keep your business running smoothly.
10. Call to Action for Lightspeed Support
If you need more detailed assistance with Lightspeed POS or user management, contact Phoenix Geeks today at 833-PHX-Geek or fill out the form on this page. We’re here to help ensure your POS setup meets your business needs efficiently and securely.


