In a busy kitchen, efficiency is crucial. From expediting orders to managing ingredients, the prep station plays a key role in making sure everything runs smoothly. With Toast POS’s easy-to-navigate system, setting up your prep stations can help reduce confusion, cut down order errors, and ultimately speed up your kitchen’s workflow. In this guide, we’ll walk you through setting up prep stations in Toast POS, so your kitchen staff can focus on delivering great meals to your guests without a hitch.
Why Prep Stations Matter in Your Restaurant
Before diving into the setup, it’s important to understand why prep stations are essential. Prep stations streamline the process by organizing orders by the station’s role, such as grill, sauté, or salad. This helps with:
- Efficiency: Clear organization speeds up the process.
- Accuracy: Reducing order errors by routing items to the correct stations.
- Communication: Improved flow of communication between front-of-house and back-of-house teams.
Now that we know the “why,” let’s focus on the “how” when it comes to setting up prep stations using Toast POS.
Step 1: Access Toast POS and Navigate to Kitchen Setup
After logging into your Toast POS admin dashboard, navigate to the Kitchen Setup section. This can be found under the Device Setup menu. From here, you’ll manage everything related to the kitchen workflow, including Kitchen Display Systems (KDS) and prep stations.
- Click on Kitchen Setup and select Prep Stations to begin customizing your stations.
Step 2: Create and Name Your Prep Stations
Next, you’ll want to set up the different stations within your kitchen based on the type of food they handle. Common stations include:
- Grill Station
- Fryer Station
- Salad Station
- Dessert Station
After naming each station, click Add Station to save it in the system.
Step 3: Assign Prep Stations to Specific Devices
Each prep station will need to be tied to specific kitchen devices, such as a tablet or a Kitchen Display System (KDS) screen. Under the Devices section, assign each station to the proper hardware to ensure tickets route correctly.
- Example: If you’re setting up a fryer station, make sure that all fried items go to the KDS screen nearest the fryer area.
This assignment is crucial for ensuring that kitchen staff receive only the tickets they need to see, preventing confusion and mix-ups.
Step 4: Define Menu Routing for Each Station
Once your prep stations are set up, you need to route menu items to the appropriate station. This step tells Toast POS where to send each order item based on its preparation requirements.
- Click on Menu Setup and select Menu Routing.
- Assign each menu item to the correct prep station (e.g., burgers to Grill Station, fries to Fryer Station, salads to Salad Station).
Make sure to double-check your routes to avoid mistakes during peak hours!
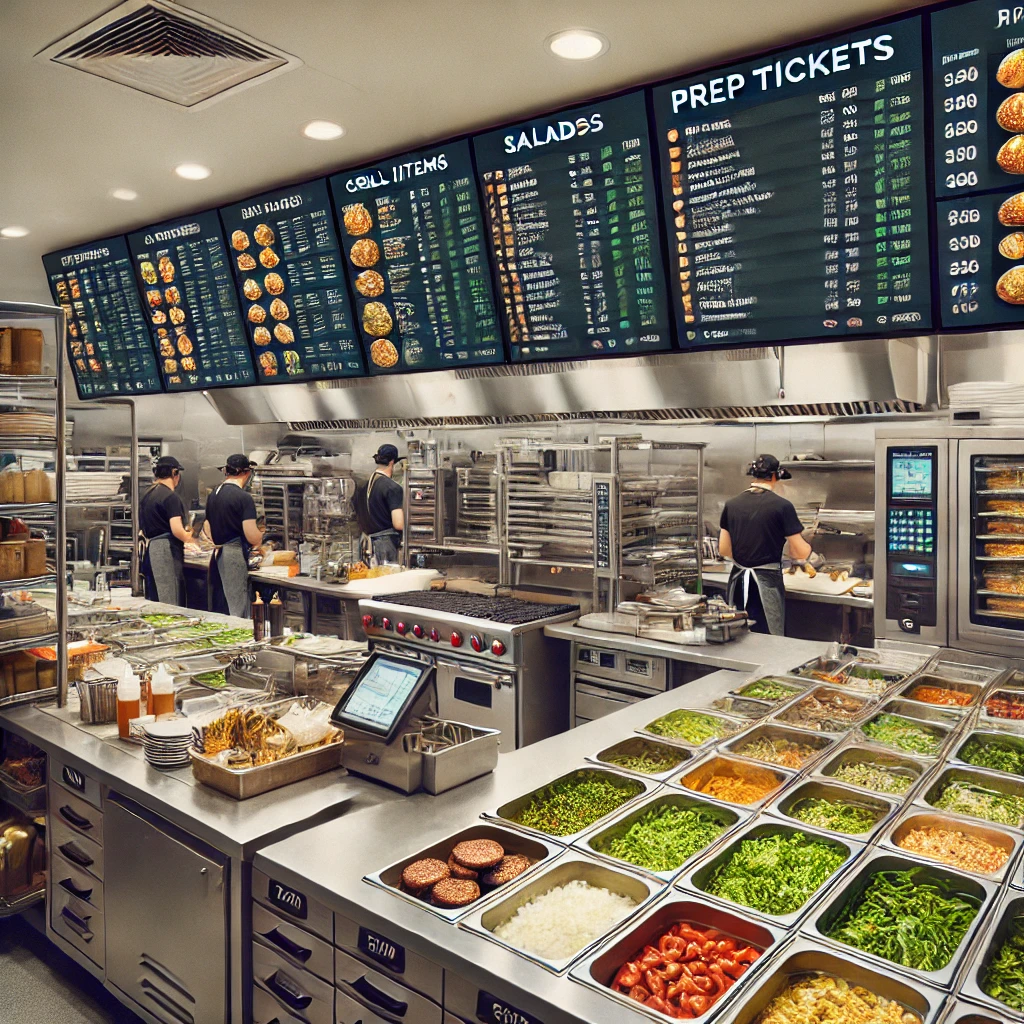
Step 5: Set Up Prep Tickets and Customization Options
Prep tickets are the printed or digital tickets your kitchen staff uses to fulfill orders. In Toast POS, you can customize these tickets with essential information like modifications, table numbers, and more.
- Go to the Prep Tickets section under Kitchen Setup to customize the details that appear.
- Pro Tip: Include item modifications like “extra cheese” or “no onions” so kitchen staff can execute orders with precision.
You can also customize the layout, such as printing tickets in a certain order or adding timers to monitor prep times.
Step 6: Test the Prep Station Workflow
Before going live, it’s critical to test your setup. Send a variety of test orders through Toast POS and monitor how tickets are routed. Does the fryer station get only fried items? Are salads routing to the correct display screen?
Testing ensures that:
- Prep stations are receiving the correct orders.
- Your kitchen staff understands the new setup.
- There are no bottlenecks or errors in the workflow.
Step 7: Train Your Kitchen Staff
Once the setup is complete and tested, the next step is training. Make sure your kitchen staff is familiar with how orders are routed to each station. Spend time explaining how the system works, including where they’ll see tickets and how to mark items as complete.
Toast POS allows orders to be marked as fulfilled either directly from the KDS or manually by touching the screen, giving staff full control over their tasks.
Step 8: Monitor and Optimize
After your prep stations are set up and running, monitor their performance during service. Toast POS provides insights into kitchen times and staff performance. If certain stations are slower than others, consider adjusting the station’s layout or redistributing menu items to balance the workload. Continuous optimization will ensure your kitchen runs efficiently, even during peak hours.
Conclusion: Empower Your Kitchen with Effective Prep Station Setup
Setting up prep stations in Toast POS is an essential part of optimizing your kitchen’s workflow. By following this guide, you can reduce errors, increase speed, and improve overall kitchen performance, making sure your guests enjoy a consistent dining experience.
Invest the time upfront in setting up prep stations correctly, and your kitchen will thank you later. A well-organized kitchen is the foundation of a successful restaurant, and with Toast POS, it’s never been easier to keep things running smoothly.